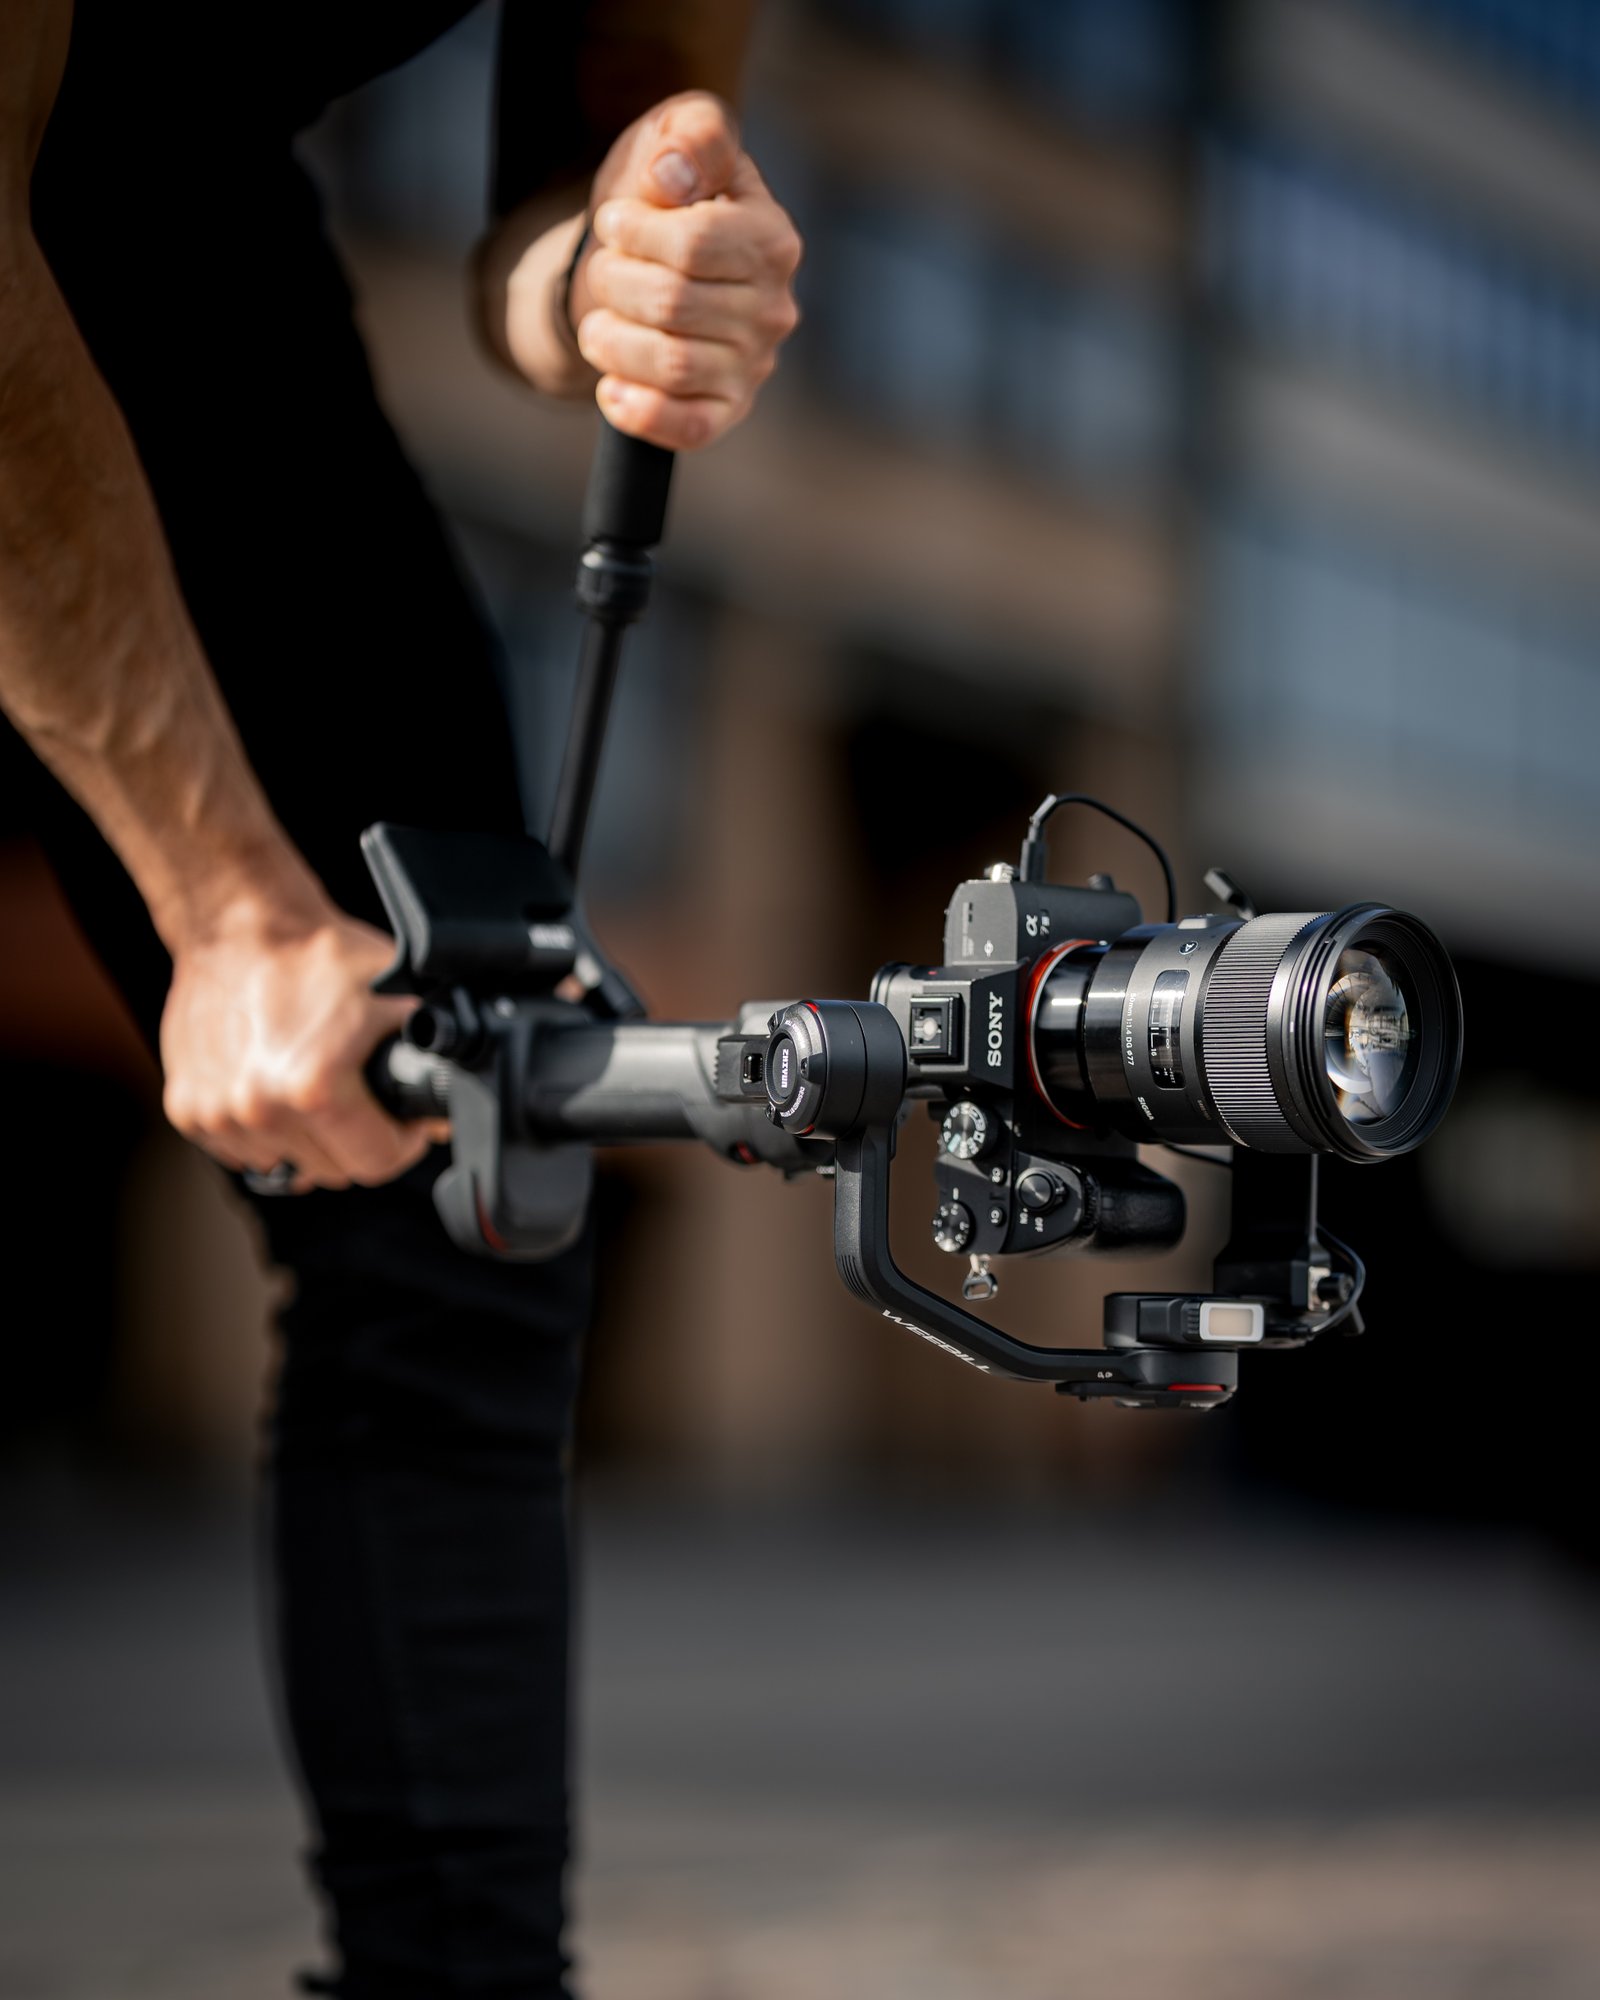
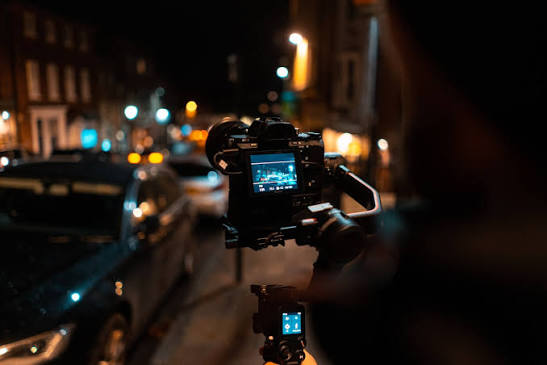
A gimbal can completely change the way your videos look.
It can help you create smooth tracking shots, cinematic push-ins, reveals and walking shots that would be difficult to achieve handheld.
But buying a gimbal doesn’t automatically make your footage cinematic.
If you are new to gimbals, there are several mistakes that can make your footage shaky, cause motor vibrations, drain your batteries quickly or even damage your equipment.
In this guide, I’ll explain the most common gimbal mistakes beginners should avoid and what you can do instead.
1. Not Balancing the Camera Properly
This is probably one of the biggest mistakes beginners make.
Before turning on your gimbal, your camera and lens need to be properly balanced.
If the camera is heavily tilted to one side or constantly falls forward or backward, the gimbal motors have to work much harder to keep everything stable.
This can lead to:
- Motor vibrations
- Noisy motors
- Poor stabilization
- Battery drain
- Overheating
- Unstable footage
The correct approach is to balance the camera mechanically before turning on the gimbal.
How to Know If Your Camera Is Balanced
With the gimbal powered off, move the camera into different positions.
The camera should remain reasonably stable rather than immediately falling heavily in one direction.
Balance the:
- Tilt axis
- Roll axis
- Pan axis
Don’t rely entirely on the motors to compensate for a badly balanced setup.
2. Turning the Gimbal On Before Balancing
Another common mistake is putting the camera on the gimbal, switching it on immediately and assuming the motors will handle everything.
They shouldn’t have to.
Always balance your setup first.
The motors are designed to stabilize a properly balanced camera, not to constantly fight against a camera that is heavily offset.
A few extra minutes of balancing can make a significant difference.
3. Forgetting to Check the Camera’s Total Weight
Not every camera and lens combination is suitable for every gimbal.
Before buying or using a gimbal, check:
Camera body + lens + battery + memory card + cage + monitor + microphone + other accessories
Your actual setup may be considerably heavier than the camera body alone.
For example, a small mirrorless camera might work perfectly on a gimbal with a lightweight prime lens but struggle once you add:
- Large zoom lens
- Cage
- External monitor
- Wireless transmitter
- Follow-focus motor
- Microphone
Always check the manufacturer’s payload recommendations.
4. Using the Wrong Motor Strength
Many modern gimbals allow you to calibrate or adjust motor strength.
Beginners sometimes assume:
“Higher motor power means better stabilization.”
Not necessarily.
If the motor strength is too low, the camera may struggle to remain stable.
If it’s unnecessarily high, you can introduce excessive motor activity and consume more battery.
After balancing your camera, use the gimbal’s recommended auto-tuning or motor calibration process when available.
Then test the setup.
5. Not Calibrating the Gimbal
Even after balancing the camera, your gimbal may benefit from calibration.
Calibration helps the gimbal understand the orientation and behaviour of its sensors and motors.
If you’re noticing:
- Camera slowly drifting
- Horizon not being level
- Strange movement
- Poor stabilization
- Unusual motor behaviour
check whether your gimbal needs calibration.
Follow the instructions for your specific model because calibration procedures vary between manufacturers.
6. Holding the Gimbal Like a Tripod
A gimbal isn’t something you simply hold with one hand and expect perfect footage.
Your body movement still affects the camera.
If you walk normally while holding a gimbal, your vertical movement can become visible in the footage.
This creates the classic:
“walking with the camera bouncing up and down”
look.
Instead, learn to walk smoothly.
7. Not Learning the Ninja Walk
One useful technique for smooth gimbal movement is often called the ninja walk.
Instead of taking normal steps, slightly bend your knees and take controlled steps.
Think about keeping your body level while moving.
Your:
feet → knees → hips → arms
should work together to reduce unnecessary vertical movement.
It may feel strange at first.
Practice it before using it on a paid shoot.
8. Moving Too Fast
Beginners often think:
“The smoother my gimbal is, the faster I can move.”
The opposite can often be true.
Fast movements can make footage look less cinematic and make it harder for the gimbal operator to maintain composition.
For cinematic shots, slow down.
Instead of rushing toward your subject, try a controlled push-in.
Instead of quickly walking around someone, move at a deliberate pace.
Smoothness comes from control, not speed.
9. Making Every Shot a Gimbal Shot
This is a major creative mistake.
Just because you own a gimbal doesn’t mean every shot needs camera movement.
A static shot can sometimes be more powerful than a complicated moving shot.
Use the gimbal when movement adds something to the story.
For example:
Push-in: creates emphasis.
Pull-out: reveals the environment.
Tracking shot: follows the subject.
Reveal: introduces a person or location.
If the movement doesn’t serve a purpose, don’t force it.
10. Moving the Gimbal Without a Plan
Before starting a shot, ask:
Where am I starting?
Where am I finishing?
What is the subject doing?
What should the viewer notice?
For example, don’t simply walk toward a bride because you want a “cinematic shot.”
Instead:
Start behind a doorway → slowly reveal the bride → move toward her → finish on her face.
Now the movement has a purpose.
11. Using the Wrong Gimbal Mode
Most modern gimbals have several operating modes.
Depending on the model, you may find options such as:
- Pan Follow
- Tilt Follow
- Lock
- POV
- Roll modes
- Follow modes
Beginners sometimes leave the gimbal in one mode for every situation.
Learn what each mode does.
For a simple tracking shot, a follow mode may be useful.
For a controlled straight movement, lock mode may give you a more stable composition.
For creative camera movement, other modes may be appropriate.
The names and controls vary between gimbals, so learn the specific modes available on your model.
12. Ignoring the Horizon
One of the most annoying gimbal problems is a crooked horizon.
You may have smooth movement but still have footage that looks wrong because the horizon is tilted.
Check your camera’s horizon before starting the shoot.
If your gimbal has an automatic calibration function, use it when appropriate.
You can sometimes correct a small horizon problem in post-production, but it is better to fix it while shooting.
13. Not Checking the Camera Settings
A perfectly balanced gimbal can’t fix bad camera settings.
Before shooting, check:
- Frame rate
- Shutter speed
- Aperture
- ISO
- White balance
- Focus
- Picture profile
- Resolution
- Storage space
- Battery level
For example, if you’re shooting 25fps, you may start around 1/50s for natural-looking motion.
If you’re shooting 50fps for slow motion, you may start around 1/100s.
The exact settings depend on your scene and creative goal.
14. Forgetting About Focus
Gimbal shots often involve movement.
That means the distance between your camera and subject can change constantly.
If you’re shooting at a very wide aperture such as f/1.7, your depth of field can be shallow.
If autofocus loses your subject, the shot may become unusable.
Before recording, decide whether you want:
Autofocus
or
Manual focus
For moving people, reliable continuous autofocus can be extremely useful.
For controlled shots, manual focus can provide predictable results.
15. Using a Heavy Lens Without Rebalancing
If you change lenses, rebalance the gimbal.
Don’t assume that because your camera was balanced with one lens, it will automatically be balanced with another.
For example:
Camera + 35mm prime
may balance completely differently from:
Camera + 24–70mm zoom
Even changing the position of a zoom lens can affect the balance.
Make balancing part of your normal workflow whenever you change the setup.
16. Adding Accessories Without Checking the Balance
Adding a microphone, monitor, cage or wireless transmitter changes the centre of gravity.
Even a small accessory can affect the balance depending on where it is mounted.
After adding accessories:
Rebalance → calibrate/tune → test
Don’t simply assume the gimbal can handle the new configuration.
17. Forgetting to Check Battery Levels
There’s nothing worse than getting the perfect shot and suddenly seeing the gimbal shut down.
Before an important shoot, check:
- Gimbal battery
- Camera battery
- Spare camera batteries
- Memory cards
- Power bank if appropriate
If you’re shooting a wedding or event, bring enough power for the entire production.
Don’t depend on one battery.
18. Not Practising Before a Paid Shoot
This is one of the most important rules.
Don’t wait until a wedding to learn how your gimbal works.
Practice:
- Balancing
- Walking
- Tracking
- Push-ins
- Pull-outs
- Reveals
- Follow modes
- Lock mode
- Switching between modes
- Battery changes
- Camera controls
You should be able to operate your setup without constantly looking down at the controls.
19. Trying to Fix Bad Gimbal Footage in Post
Software stabilization can sometimes rescue footage, but don’t rely on it as your main stabilization method.
If your footage contains:
- Heavy bouncing
- Excessive motion blur
- Bad framing
- Focus errors
- Crooked horizons
post-production cannot always fix it cleanly.
Get the shot right in camera whenever possible.
20. Forgetting That You Are Part of the Stabilization System
Your gimbal is only one part of the system.
Think of it as:
Gimbal + camera + lens + operator
All four affect the final result.
A properly balanced camera operated by someone who understands movement will usually produce better footage than an expensive gimbal operated poorly.
A Simple Gimbal Setup Checklist
Before recording, check:
Camera
- Battery charged
- Memory card installed
- Correct frame rate
- Correct shutter speed
- Correct aperture
- Correct ISO
- White balance checked
- Focus mode checked
Gimbal
- Camera mounted securely
- Tilt balanced
- Roll balanced
- Pan balanced
- Motors calibrated/tuned
- Horizon checked
- Battery charged
- Correct operating mode selected
Shot
- Start position planned
- End position planned
- Subject movement understood
- Walking path clear
- Focus checked
- Lighting checked
Example: Shooting a Wedding Entrance
Imagine you’re filming a bride entering a wedding reception.
Instead of simply turning on the gimbal and walking backward, plan the shot.
Start
Position yourself ahead of the bride.
Movement
Walk backward slowly while maintaining a consistent distance.
Camera
Keep the bride’s face properly framed.
Focus
Use reliable continuous autofocus if appropriate.
Movement
Take controlled steps and avoid sudden changes in direction.
Finish
End the shot when you reach the planned position rather than continuing unnecessarily.
This simple approach can produce a much more professional result.
Final Thoughts
A gimbal is a powerful filmmaking tool, but it isn’t a magic device that automatically creates cinematic footage.
The biggest improvements usually come from mastering the basics:
Balance your camera.
Calibrate your gimbal.
Use the correct motor settings.
Learn how to walk smoothly.
Plan your movements.
Don’t overuse camera movement.
Check focus and exposure.
Practise before important shoots.
And most importantly, remember that smooth footage isn’t automatically good footage.
Every camera movement should have a reason.
Once you understand that, your gimbal becomes much more than a stabilization tool—it becomes a way to control how the viewer experiences your story.
Frequently Asked Questions
Why is my gimbal still shaking after balancing?
Possible causes include incorrect balancing, inappropriate motor settings, an unsupported camera/lens combination, loose mounting, or the need for calibration.
Should I balance the camera before turning on the gimbal?
Yes. Balance the camera mechanically first, then power on and calibrate/tune the motors if your gimbal requires it.
Can I use any lens on a gimbal?
No. The camera and lens combination must fall within the gimbal’s supported payload and physical compatibility requirements.
Why is my gimbal footage still bouncing when I walk?
The gimbal can stabilize rotation, but it cannot completely remove the vertical movement of your body. Practising controlled steps and the “ninja walk” can help.
Should every video shot be filmed with a gimbal?
No. Use a gimbal when camera movement adds value to the shot. Static, handheld or tripod shots can sometimes tell the story better.
Why is my horizon crooked?
Your gimbal may need calibration, the camera may not be properly mounted or balanced, or the roll axis may need adjustment.
Do I need to rebalance after changing lenses?
Yes. Different lenses change the camera’s centre of gravity, so you should rebalance the gimbal whenever you significantly change your camera setup.
Can Premiere Pro fix shaky gimbal footage?
Software stabilization can help with some footage, but it cannot reliably fix severe bouncing, motion blur, poor focus or badly framed shots. Getting the movement right while shooting is always preferable.