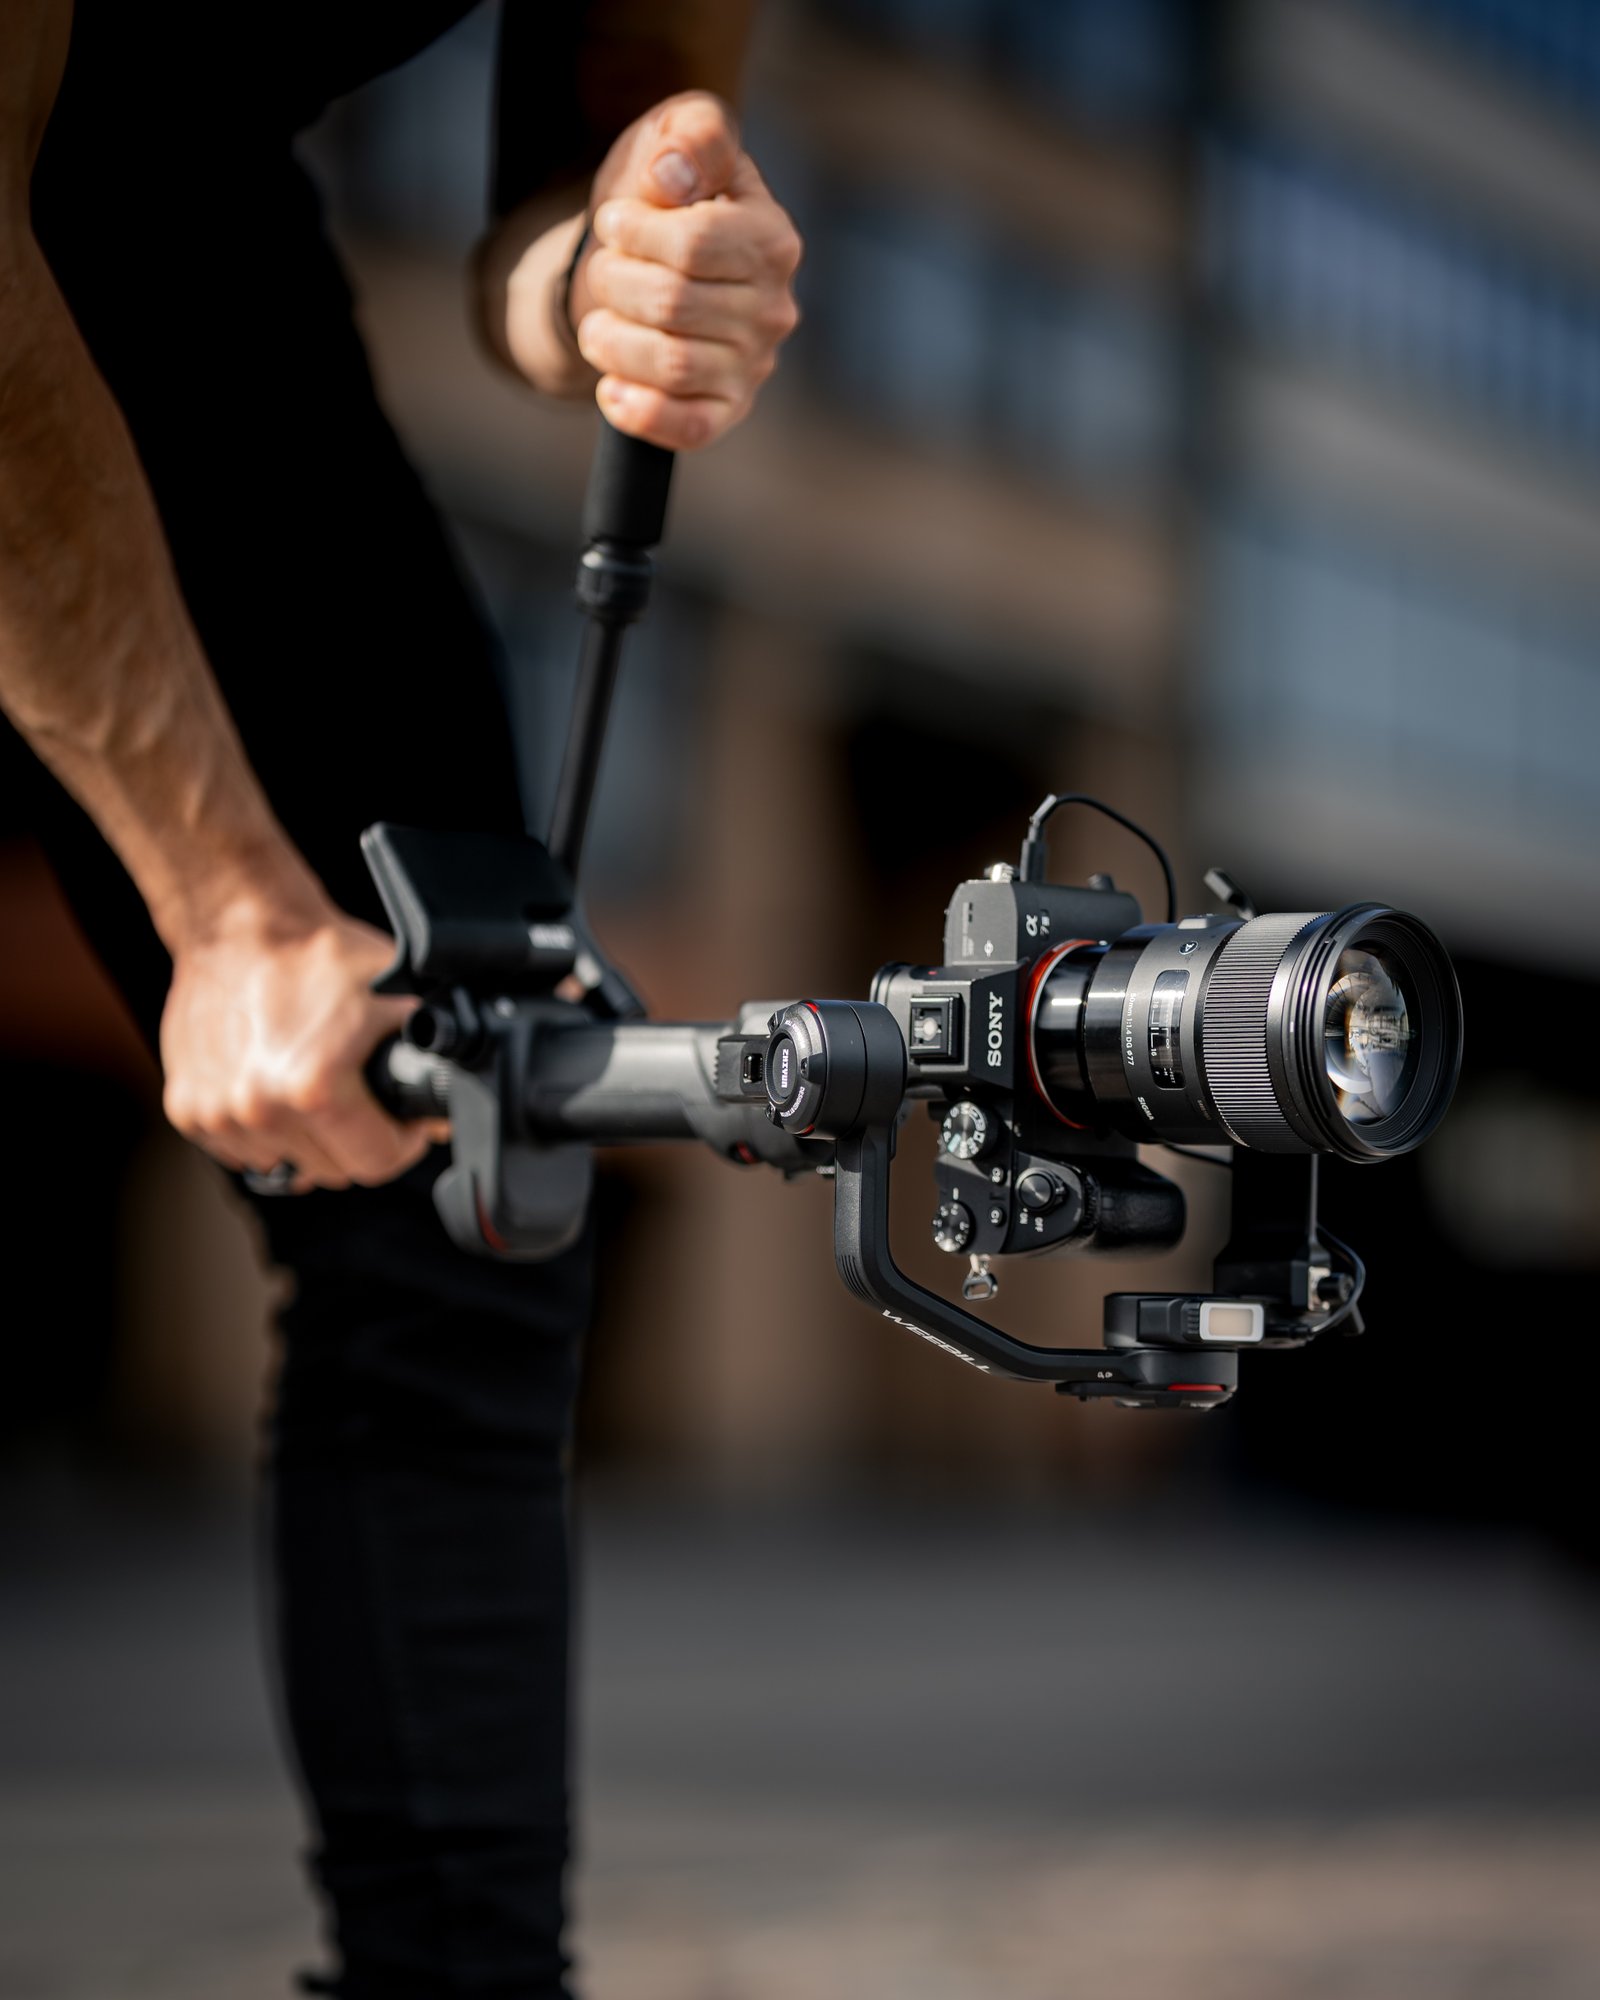
The Sony a6500 is an older camera by today’s standards, but it can still produce beautiful cinematic video when paired with the right lens and settings.
One combination I particularly like for creating cinematic-looking footage is the Sony a6500 with a 35mm lens.
On the a6500’s APS-C sensor, a 35mm lens gives you a field of view similar to roughly a 52.5mm lens on a full-frame camera. This makes it useful for portraits, weddings, interviews, detail shots and general cinematic work.
But the camera settings matter.
If you’re using a Sony a6500 with a fast 35mm lens, this guide will show you the settings you can use as a starting point for cinematic video.
Important: There is no single “cinematic setting.” Your lighting, movement, lens, frame rate, shutter speed and colour profile all affect the final result.
Recommended Sony a6500 Cinematic Settings
For a good starting point, try:
- File Format: XAVC S HD or XAVC S 4K
- Frame Rate: 25fps for normal cinematic footage
- Shutter Speed: 1/50s at 25fps
- Aperture: f/1.7–f/2.8 when you want shallow depth of field
- ISO: Keep as low as practical
- Focus: AF-C + Face/Eye AF for moving people
- White Balance: Manual/custom when lighting is consistent
- Picture Profile: Cine4 or another profile you understand and can expose correctly
- Stabilization: SteadyShot when appropriate
- Exposure: Use the histogram/zebras rather than judging only from the LCD
These settings are a starting point. You should adjust them according to the scene.
1. Choose the Right Frame Rate
Frame rate has a major effect on the way your footage looks.
For cinematic-looking normal-speed footage, I recommend starting with:
25fps
This is particularly useful if you’re working in Nigeria and other regions where 25fps is commonly used.
For slow motion, you can record at:
50fps
and interpret or conform the footage to a 25fps timeline.
That gives you approximately 2× slow motion while maintaining smooth motion.
25fps vs 50fps
25fps
Use it for:
- Interviews
- Wedding ceremonies
- Walking shots
- Couple portraits
- Establishing shots
- Normal-speed cinematic footage
50fps
Use it for:
- Slow-motion couple shots
- Dancing
- Dress movement
- Hair movement
- Detail shots
- Emotional moments
- Creative b-roll
Don’t shoot everything at 50fps simply because you can.
If you don’t need slow motion, 25fps can make your workflow easier and gives you more exposure flexibility in darker environments.
2. Use the 180-Degree Shutter Rule
One of the most useful principles for cinematic motion is keeping your shutter speed approximately twice your frame rate.
At:
25fps → 1/50s
At:
50fps → 1/100s
This produces motion blur that generally looks natural.
For example, if you’re shooting a couple walking toward the camera at 25fps, starting at 1/50s gives their movement natural-looking motion blur.
Don’t Keep Changing the Shutter to Control Exposure
This is particularly important outdoors.
If you’re shooting at 25fps and want to maintain:
1/50s
but the scene is too bright, don’t immediately increase the shutter to 1/500s.
Instead, consider using an ND filter.
An ND filter reduces the amount of light entering the lens without changing your shutter speed, aperture or frame rate.
This is extremely useful when you’re shooting wide open during bright daylight.
3. Use Your 35mm Lens at the Right Aperture
If your 35mm lens has a wide maximum aperture such as f/1.7, you have a lot of creative flexibility.
For a cinematic portrait, you might use:
f/1.7–f/2
This can give you a shallow depth of field and separate your subject from the background.
However, shooting wide open isn’t always the best option.
At f/1.7, your depth of field is very shallow.
If your subject moves toward or away from the camera, keeping both eyes perfectly sharp can become more difficult.
Try:
f/2–f/2.8
when you want slightly more depth of field while still maintaining background separation.
For groups or scenes where you want more of the environment in focus, consider:
f/4–f/5.6
4. Use the 35mm Perspective to Your Advantage
Because the a6500 is an APS-C camera, your 35mm lens provides a field of view similar to approximately 52.5mm on full frame.
This is a useful focal length for cinematic storytelling.
It isn’t extremely wide, so you can get pleasing subject separation.
It also isn’t extremely telephoto, so you can still show some of the environment.
For example, you can use it for:
- Couple portraits
- Groom preparation
- Bride preparation
- Interviews
- Walking shots
- Medium shots
- Detail shots
- Behind-the-scenes footage
If you need a very wide establishing shot in a small room, however, 35mm may feel too tight.
5. Choose a Picture Profile Carefully
Picture Profile is one area where beginners can easily overcomplicate things.
The Sony a6500 offers several profiles, including Cine profiles.
A commonly used option is:
PP6 — Cine2
or
PP7 — S-Log2
depending on your workflow and grading experience.
However, don’t choose a log profile simply because you think “log = cinematic.”
A badly exposed log recording can be more difficult to work with than footage captured in a profile that is easier to expose.
If you’re relatively new to colour grading, use a profile that you understand and can consistently expose.
What About Cine4?
Cine4 can be a useful option when you want more dynamic range than a very basic picture profile while maintaining a relatively straightforward grading workflow.
However, test your own camera and preferred settings before using a profile for an important paid production.
If you notice unusual colour casts or skin-tone problems, don’t simply assume the profile is better because someone recommended it online.
Your lighting, white balance and exposure are equally important.
6. Set Your White Balance Manually
Auto White Balance can change during a shot.
Imagine you’re filming a wedding reception and the lighting changes from warm indoor lights to blue stage lighting.
If Auto White Balance reacts during the shot, you can end up with visible colour shifts.
For controlled scenes, consider setting your white balance manually.
For example:
Daylight: around 5200K–5600K
Warm indoor lighting: often around 2800K–4000K
These are starting points rather than universal values.
The actual colour temperature depends on the lighting.
If you’re shooting under mixed lighting, you may need to make creative compromises.
7. Use ND Filters Outdoors
If you want to shoot at:
25fps
1/50s
f/1.7
during bright daylight, your image may become severely overexposed.
This is where an ND filter becomes useful.
Think of an ND filter as sunglasses for your camera lens.
It reduces the amount of light entering the lens while allowing you to maintain your preferred cinematic settings.
For outdoor portraits and wedding shoots, an ND filter can make a huge difference.
A variable ND can also be convenient because you can adjust the amount of light reduction as you move between different lighting conditions.
8. Keep ISO Under Control
The a6500 can produce good-looking footage, but low-light performance has limits.
Whenever possible, start with a low ISO and add light rather than immediately pushing ISO extremely high.
However, don’t become obsessed with keeping ISO at the lowest possible value.
If the scene is dark, a properly exposed higher-ISO image can be preferable to severely underexposed footage.
For example, if you’re filming a wedding reception and the room is dark, you might need to raise ISO considerably.
Your goal is:
Good exposure + acceptable noise + correct shutter speed.
9. Use AF-C for Moving Subjects
The Sony a6500’s autofocus can be useful for video, especially when you’re filming people.
For moving subjects, consider:
AF-C
For example, if you’re filming a bride walking toward you, continuous autofocus can help maintain focus as the distance changes.
Face detection and Eye AF can also be useful when supported by your chosen settings.
However, autofocus isn’t perfect.
For controlled cinematic shots, manual focus can sometimes give you more predictable results.
10. When Should You Use Manual Focus?
Manual focus is useful when you know exactly where your subject will be.
For example, imagine you’re filming a groom walking toward a doorway.
You can pre-focus on the position where you want him to stop and then perform the shot.
Manual focus can also be useful for:
- Product shots
- Detail shots
- Static interviews
- Controlled camera movements
- Focus-pull shots
If you’re filming unpredictable movement, however, autofocus may save you from losing focus.
11. Use Slow Motion Correctly
For cinematic wedding b-roll, 50fps can be extremely useful.
For example:
Camera: 50fps
Shutter: 1/100s
Then place the footage on a:
25fps timeline
and slow it to approximately 50% speed.
This can produce smooth slow-motion footage.
Good subjects for slow motion include:
- Bride walking
- Wedding dress movement
- Groom adjusting his suit
- Couple walking together
- Hair movement
- Dancing
- Confetti
- Hand details
- Ring shots
Don’t slow down every clip.
Use slow motion when it adds emotion or visual interest.
12. Use Camera Movement Carefully
A cinematic image isn’t automatically cinematic because the camera is moving.
One of the easiest ways to improve your footage is to make your camera movements intentional.
Try:
Push-in
Slowly move toward your subject.
Pull-out
Move away from your subject to reveal the environment.
Side tracking
Move sideways while keeping the subject in frame.
Reveal
Start behind an object and move to reveal your subject.
Static shot
Sometimes the best cinematic shot is simply a stable composition.
If you’re using a gimbal, move slowly and avoid unnecessary movements.
13. Don’t Overuse Background Blur
A very blurry background can look beautiful, but cinematic footage isn’t simply:
f/1.7 + blurry background = cinematic
Storytelling, composition, lighting and movement matter just as much.
Sometimes stopping your 35mm lens down to f/2.8 or f/4 can make the environment part of the story.
For example, showing the wedding venue behind the couple can provide context.
14. Pay Attention to Lighting
Good lighting will often make a bigger difference than changing your picture profile.
Before pressing record, look at:
Where is the light coming from?
Is the face properly illuminated?
Are there ugly shadows?
Is the background brighter than the subject?
Are highlights clipping?
If possible, position your subject so the light works in your favour.
Even a relatively inexpensive camera can produce attractive footage when the lighting is good.
15. Recommended Sony a6500 + 35mm Settings
Here are practical starting points.
Outdoor cinematic portrait
Resolution: 4K
Frame rate: 25fps
Shutter: 1/50s
Aperture: f/1.7–f/2.8
ISO: Low/native setting appropriate for your profile
Focus: AF-C + Face/Eye AF
White Balance: Manual
ND filter: Yes, when necessary
Indoor portrait
Resolution: 4K
Frame rate: 25fps
Shutter: 1/50s
Aperture: f/1.7–f/2.8
ISO: Adjust according to available light
Focus: AF-C or manual
White Balance: Manual/custom
Wedding slow motion
Resolution: 1080p or the appropriate high-frame-rate mode
Frame rate: 50fps
Shutter: 1/100s
Aperture: f/1.7–f/2.8
ISO: Adjust according to light
Focus: AF-C + Eye/Face AF when appropriate
Low-light reception
Frame rate: 25fps
Shutter: 1/50s
Aperture: f/1.7–f/2
ISO: Increase as necessary
Focus: AF-C or manual
Lighting: Use available light or add light when possible
16. My Biggest Tip: Don’t Chase Settings
It’s easy to spend hours searching for the “perfect” Sony a6500 cinematic settings.
But there isn’t one.
The same settings that work beautifully outdoors at 5:00 PM may completely fail in a dark wedding reception.
Instead, learn what each setting does.
If the image is too bright:
Use ND → close aperture → adjust ISO appropriately
If the image is too dark:
Add light → open aperture → increase ISO
If movement looks unnatural:
Check shutter speed
If your subject isn’t sharp:
Check focus
If colours look wrong:
Check white balance and picture profile
That’s a much more useful skill than memorizing someone else’s settings.
Final Thoughts
The Sony a6500 paired with a fast 35mm lens can still be a very capable combination for cinematic video.
Start with 25fps, 1/50s shutter speed, a wide aperture and controlled ISO, then adjust according to the scene.
Use an ND filter outdoors when you need to maintain a wide aperture and slow shutter speed.
For moving subjects, use AF-C and Eye/Face AF when appropriate.
For controlled shots, manual focus can give you more predictable results.
Most importantly, remember that cinematic footage isn’t created by camera settings alone.
Lighting, composition, camera movement, subject direction and storytelling are just as important.
Learn your camera, test your settings and develop a workflow that you can reproduce consistently.
Frequently Asked Questions
Is the Sony a6500 still good for cinematic video?
Yes. Although newer cameras offer more advanced features, the a6500 can still produce attractive video when paired with good lighting, an appropriate lens and proper exposure.
Is 35mm good for cinematic video on the Sony a6500?
Yes. Because the a6500 uses an APS-C sensor, a 35mm lens gives you a field of view similar to approximately 52.5mm on full frame. This makes it useful for portraits, interviews, weddings and medium shots.
What is the best shutter speed for the Sony a6500 at 25fps?
A good starting point is 1/50s, following the approximate 180-degree shutter guideline.
What aperture should I use with a 35mm lens?
For shallow depth of field, start around f/1.7–f/2.8 if your lens supports it. For groups or scenes where you need more depth of field, consider stopping down to f/4 or beyond.
Should I use an ND filter with the Sony a6500?
An ND filter is particularly useful outdoors when you want to maintain a wide aperture and cinematic shutter speed without overexposing the image.
Should I shoot 4K or 1080p?
If your workflow and storage allow it, 4K gives you more resolution and flexibility for reframing and delivering a 1080p final video. However, 1080p can still produce good results and may be more practical for some projects.
Should I use S-Log2 for cinematic video?
Not necessarily. S-Log2 can be useful when you understand how to expose and grade it, but a simpler picture profile may be more practical if you’re still learning colour grading.
What ISO should I use on the Sony a6500?
Use the lowest ISO that gives you a properly exposed image while maintaining your desired aperture and shutter speed. In low light, don’t be afraid to increase ISO when necessary.