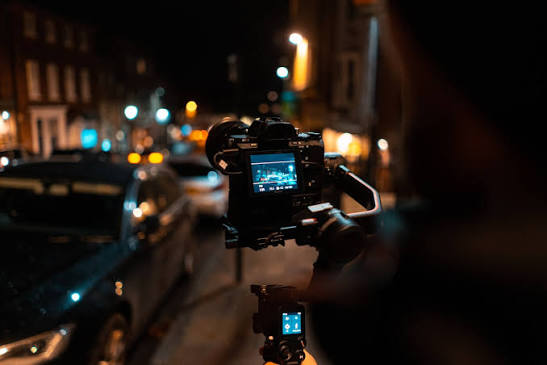
Shooting video in low light can be challenging, especially when you’re working at weddings, parties, indoor events or other locations where you don’t have complete control over the lighting.
You may notice that your footage becomes noisy, blurry, too dark or loses detail in the shadows.
The good news is that you don’t always need a more expensive camera to improve your low-light videos.
By choosing the right camera settings, lens, lighting and shooting technique, you can get much cleaner footage even when the available light is limited.
In this guide, I’ll explain how to shoot better videos in low light and the camera settings you can use as a starting point.
Why Does Low-Light Video Look Noisy?
When there isn’t enough light reaching your camera sensor, you have to compensate somehow.
You can:
- Open the aperture.
- Slow down the shutter speed.
- Increase ISO.
- Add more light.
The problem is that each option has a trade-off.
A very slow shutter speed can create motion blur.
A high ISO can introduce noise.
A narrow aperture lets in less light.
Adding artificial light can change the look of the scene.
The goal is therefore to find a balance between these settings.
1. Use a Fast Lens
One of the easiest ways to improve low-light video is to use a lens with a wide maximum aperture.
For example, a lens with an aperture of:
f/1.4
can let in considerably more light than a lens limited to:
f/4
This is why fast prime lenses are popular for low-light photography and videography.
A 35mm f/1.7 lens, for example, can be useful for indoor events because it gives you a relatively wide field of view while allowing plenty of light into the camera.
However, don’t assume that simply buying a fast lens will solve every low-light problem.
Your exposure, focus, shutter speed and camera settings still matter.
2. Keep Your Shutter Speed Appropriate
One of the biggest mistakes beginners make in low light is lowering the shutter speed too much.
For example, you might think:
“The room is dark, so I’ll use 1/25s to make the image brighter.”
The footage may indeed become brighter, but moving subjects can start to look blurry or smeared.
For normal video, a useful starting point is to follow the 180-degree shutter rule.
For example:
25fps → around 1/50s
30fps → around 1/60s
50fps → around 1/100s
60fps → around 1/120s
These aren’t absolute rules, but they’re useful starting points for natural-looking motion.
If you’re filming a wedding reception at 25fps, for example, I would generally start around 1/50s rather than dropping the shutter speed dramatically just to brighten the image.
3. Open Your Aperture
Your aperture determines how much light enters the lens.
For low-light video, a wide aperture can be extremely useful.
For example:
f/1.7
lets in much more light than:
f/5.6
If your lens allows it, you might start around:
f/1.7–f/2.8
and adjust depending on how much depth of field you want.
There is a trade-off, however.
At very wide apertures, your depth of field becomes shallower.
That means keeping a moving subject in focus can become more difficult.
If you’re shooting a person walking toward you at f/1.7, for example, the focus can shift quickly.
If your camera struggles to maintain focus, stopping down slightly to f/2 or f/2.8 may give you a little more room for error.
4. Don’t Be Afraid of Increasing ISO
ISO is often treated as the enemy of low-light video.
It shouldn’t be.
Yes, increasing ISO can introduce noise, but an underexposed video that you try to brighten heavily during editing can also look terrible.
Sometimes it is better to record a properly exposed image at a higher ISO than to record an extremely dark image at ISO 100 and try to recover it later.
For example, depending on your camera and lighting, something like:
ISO 800–1600
may produce a much better result than severely underexposing your footage.
Some modern cameras can also produce usable footage at much higher ISO values.
The important thing is to test your own camera rather than assuming that one ISO limit applies to every camera.
5. Expose Your Subject Correctly
Low-light scenes can be deceptive.
Your eyes may adjust to a dark room and make it appear brighter than it actually is.
Your camera doesn’t work the same way.
Instead of worrying about making the entire room bright, concentrate on exposing the important part of the image.
If you’re filming a wedding speech, for example, the speaker’s face is usually more important than a dark corner of the venue.
Make sure the face is properly exposed.
You don’t necessarily need to brighten every shadow in the room.
6. Use Available Light to Your Advantage
Before adding artificial lights, look around the location.
You may already have useful light sources.
Look for:
- Windows
- Ceiling lights
- Chandeliers
- Decorative lights
- Stage lighting
- LED panels
- Practical lamps
- Shop or building lights
Instead of placing your subject randomly in the darkest part of the room, position yourself so the available light works in your favour.
For example, if a subject is standing beside a window, moving slightly toward the brighter side can dramatically improve the image.
7. Don’t Underexpose Just to Keep ISO Low
This deserves its own section because it is such a common mistake.
Imagine you’re shooting in a dark reception hall.
You want to keep ISO 400 because you are worried about noise.
You end up with a very dark image.
During editing, you increase the exposure significantly.
The result may contain:
- Heavy noise
- Colour shifts
- Weak skin tones
- Poor shadow detail
- Compression artifacts
A properly exposed image at a higher ISO can sometimes look cleaner than an extremely underexposed image that was brightened later.
8. Use a Camera Profile You Understand
Your picture profile can affect how easy your footage is to expose and grade.
If you’re shooting a camera profile designed for maximum dynamic range, make sure you understand how to expose it.
Log profiles can be useful, but they aren’t automatically the best choice for every low-light situation.
If you’re using a camera with limited dynamic range or you’re working in difficult lighting, a simpler profile that gives you a good-looking image straight from the camera may sometimes be easier to manage.
The best profile is the one you understand and can expose correctly.
9. Be Careful With Noise Reduction
You can reduce noise during post-production, but don’t rely on noise reduction to fix severely noisy footage.
Heavy noise reduction can make faces and fine details look soft or artificial.
A better workflow is:
Capture as much clean light as possible → expose correctly → use reasonable ISO → apply moderate noise reduction during editing.
If you’re using Premiere Pro or another editing program, don’t immediately apply extreme noise reduction.
Check your footage at 100% and find a balance between removing noise and preserving detail.
10. Add Artificial Light When You Can
If you have control over the environment, adding light can make a huge difference.
You don’t necessarily need an enormous lighting setup.
A small LED light can sometimes be enough to add a little fill to a person’s face.
For interviews or controlled shoots, you could use:
- LED panel
- Softbox
- Small video light
- Practical light
- Reflector
The key is not simply to make everything brighter.
Think about direction and quality of light.
A soft light positioned correctly can produce a much more attractive image than a harsh light pointed directly at someone’s face.
11. Avoid Digital Zoom in Low Light
Digital zoom can make low-light footage look even worse.
If you need a tighter shot, physically move closer when possible or use an appropriate focal length.
Digital cropping magnifies everything, including:
- Noise
- Compression
- Softness
- Focus errors
If you’re recording in 4K and delivering in 1080p, you may have some room for a moderate crop during editing, but don’t depend on extreme digital zoom.
12. Stabilize Your Camera
Camera movement becomes more noticeable when you’re shooting in low light.
If your camera is moving excessively, you may be tempted to lower the shutter speed to get more exposure.
Instead, consider using:
- Tripod
- Monopod
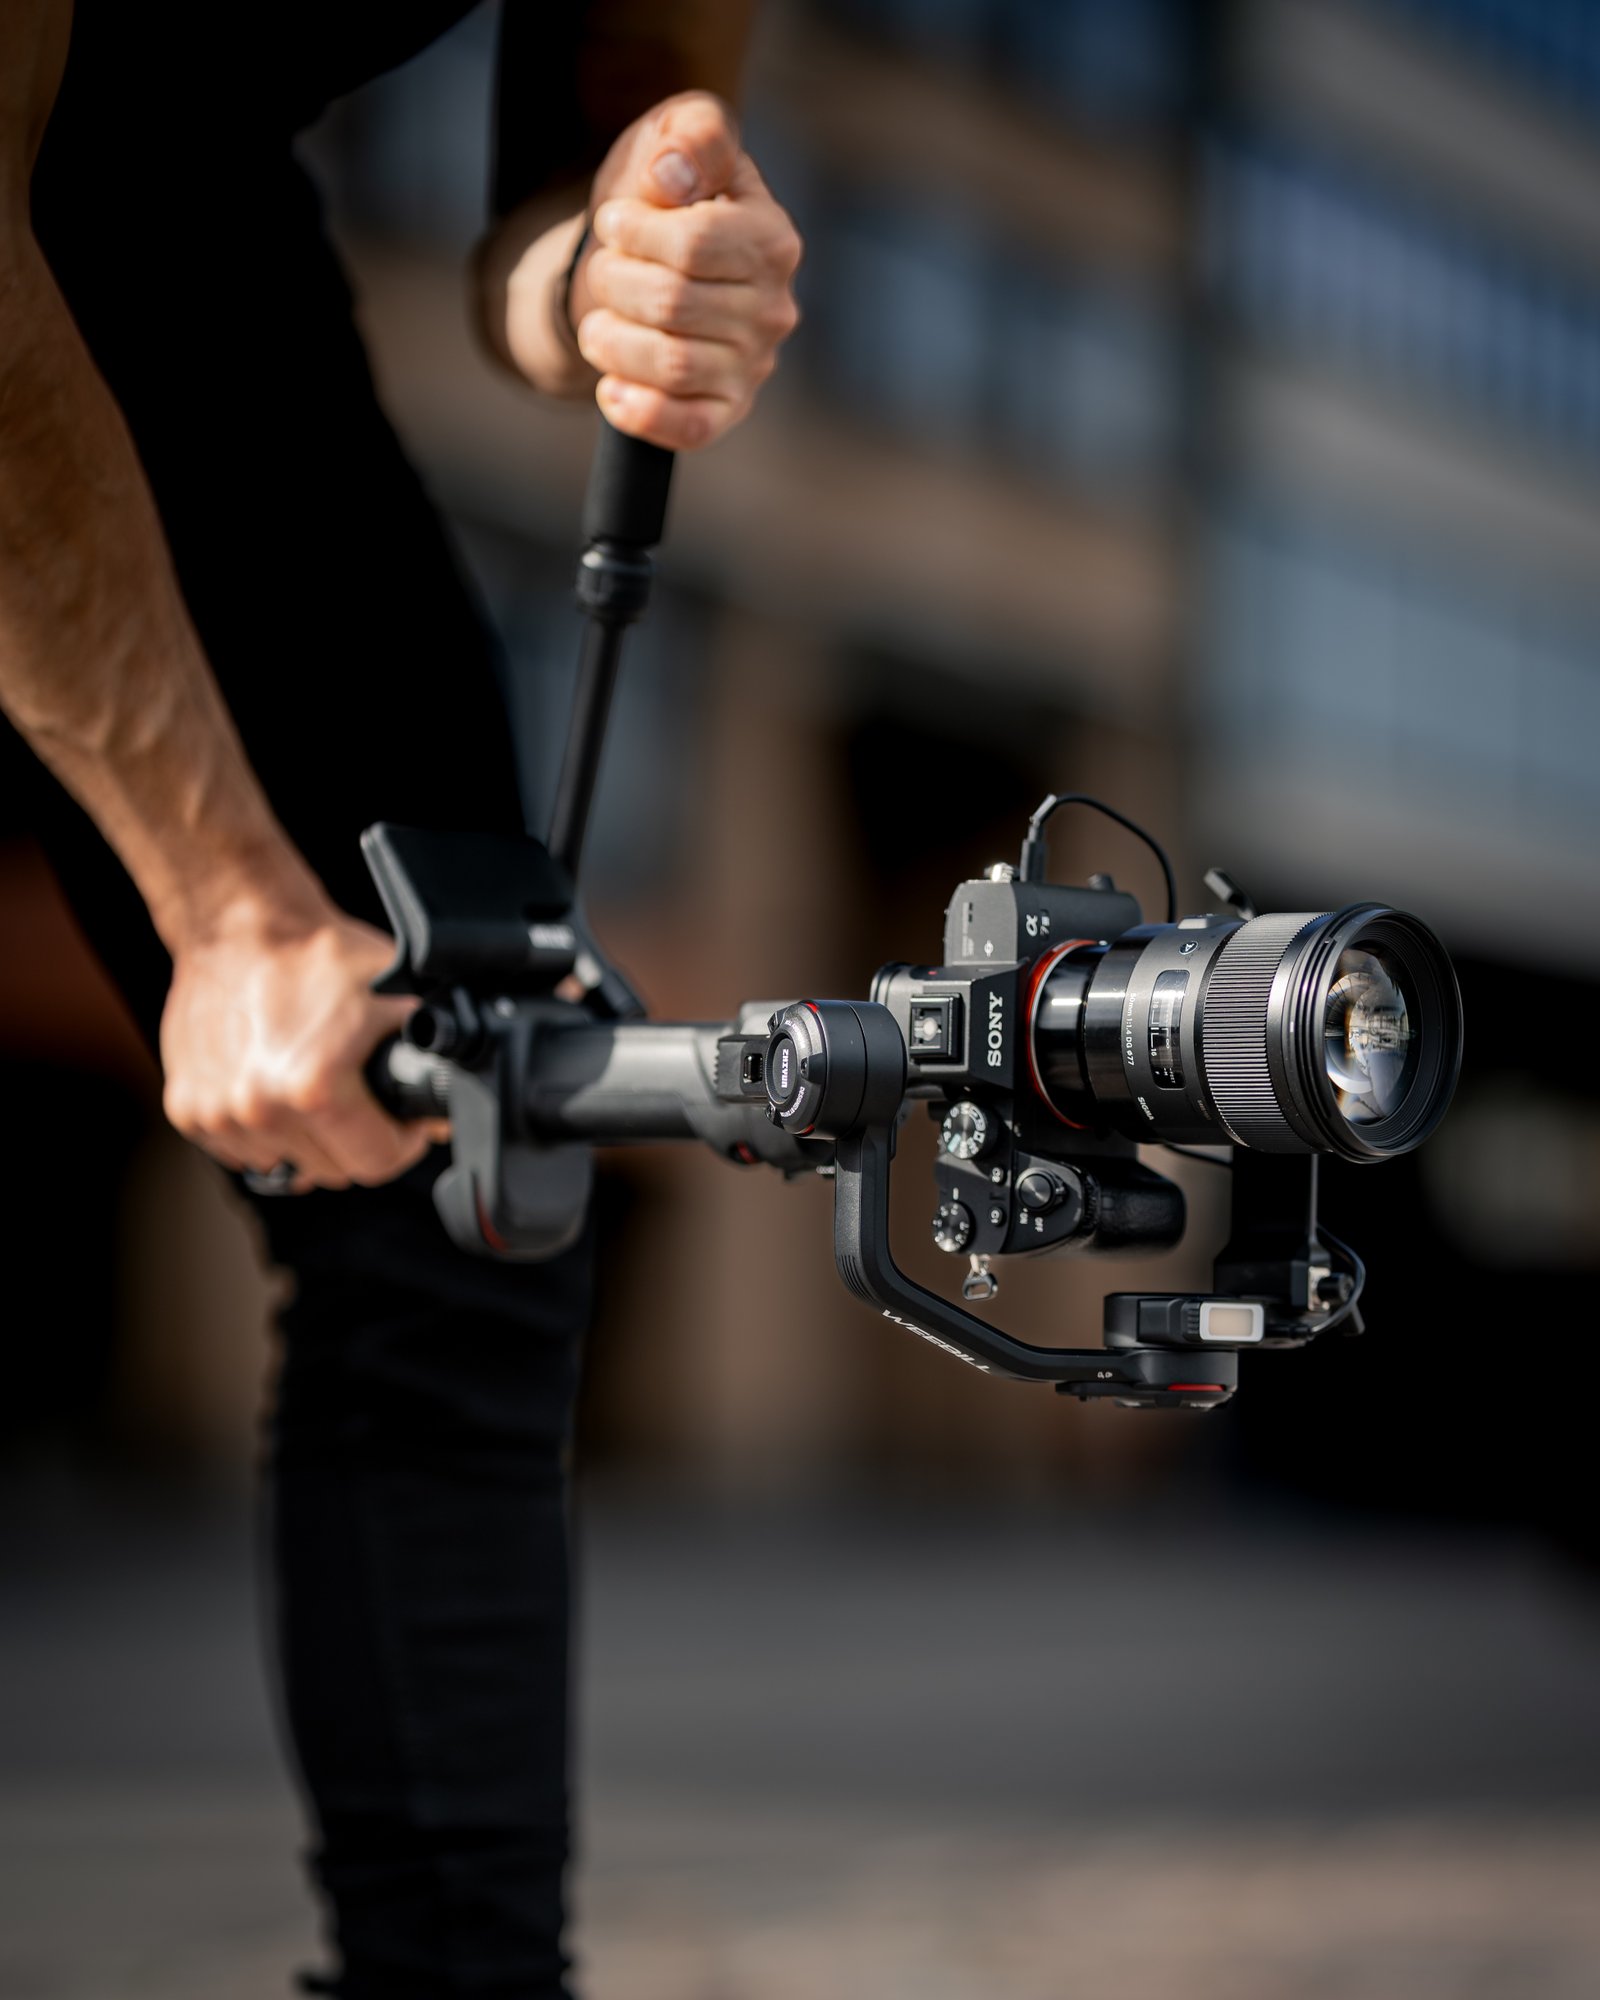
- Gimbal
- Shoulder rig
- Proper handheld technique
Stabilization doesn’t create more light, but it can help you produce smoother footage without relying on extremely slow shutter speeds.
13. Clean Your Lens
This sounds simple, but it can make a surprising difference.
A dirty lens can produce:
- Haze
- Reduced contrast
- Light streaks
- Flare
- Soft-looking highlights
Before shooting an important event, clean the front element of your lens with appropriate lens-cleaning equipment.
This is especially important when shooting around bright lights at night.
14. Watch Out for Stage and Event Lighting
Concerts, weddings and parties can be particularly difficult because the lighting can change constantly.
You might have:
Dark room → bright spotlight → red light → blue light → darkness
within a few seconds.
If you’re shooting an event like this, don’t rely entirely on one fixed exposure setting.
Watch the lighting and make adjustments when necessary.
Also remember that coloured lights can dramatically affect skin tones.
A red or blue stage light isn’t necessarily something you can completely correct in post-production.
Try to capture important moments when the lighting is favourable.
Recommended Low-Light Video Settings
Here are some useful starting points.
Indoor talking-head video
Frame rate: 25fps
Shutter: 1/50s
Aperture: f/1.8–f/2.8
ISO: 400–1600
Focus: Eye AF if available
Wedding reception
Frame rate: 25fps
Shutter: 1/50s
Aperture: f/1.7–f/2.8
ISO: 800–3200 depending on the camera and lighting
Slow-motion low-light footage
If you’re recording at 50fps:
Shutter: around 1/100s
If the scene is extremely dark, you may need to make compromises with ISO or lighting.
Static night shot
If your subject isn’t moving and your camera is on a tripod, you have much more flexibility.
You can use:
Lower ISO + slower shutter speed
because camera movement and subject movement aren’t major concerns.
Example: Shooting a Wedding Reception
Imagine you’re filming a wedding reception and the venue is quite dark.
You are using a fast 35mm lens.
I’d start by considering something like:
25fps
1/50s
f/1.7–f/2
Then adjust ISO until your subject is properly exposed.
If ISO 1600 gives you a good exposure, that’s potentially preferable to keeping ISO 400 and ending up with a severely underexposed image.
If the couple begins dancing quickly, you may want to increase your shutter speed depending on how much motion blur you’re getting.
If there is enough available light, you can also stop down the aperture slightly.
The exact settings will change throughout the event.
A Simple Low-Light Workflow
If you’re a beginner, don’t overcomplicate the process.
Use this order:
Step 1 — Set your frame rate
Choose the frame rate you need.
Step 2 — Set your shutter speed
Start around the 180-degree shutter guideline.
Step 3 — Open your aperture
Use a wider aperture if you need more light.
Step 4 — Adjust ISO
Increase ISO until you reach a usable exposure.
Step 5 — Check focus
Make sure the subject’s face or eyes are actually sharp.
Step 6 — Look at the highlights
Don’t allow important bright areas to become completely blown out.
Step 7 — Check your footage
If possible, zoom in and inspect your image before continuing.
Final Thoughts
Good low-light videography isn’t about finding one magical ISO setting.
It’s about understanding how shutter speed, aperture, ISO, lighting, lens choice and exposure work together.
If you regularly shoot weddings, parties or indoor events, start by using a fast lens, keeping your shutter speed appropriate for your frame rate, opening your aperture when necessary and increasing ISO when you need more exposure.
Most importantly, don’t be afraid of ISO.
A clean, properly exposed shot at a higher ISO is often more useful than a severely underexposed shot captured at a low ISO.
And when you have the opportunity to add light, use it.
Better lighting will usually give you a bigger improvement than simply changing camera settings.
Frequently Asked Questions
What is the best ISO for low-light video?
There isn’t one ISO that is best for every camera. Start with the lowest ISO that gives you a properly exposed image while maintaining an appropriate shutter speed and aperture.
What shutter speed should I use for low-light video?
A common starting point is approximately double your frame rate. For example, 25fps at 1/50s or 30fps at 1/60s.
Should I use a high ISO in low light?
If you need more exposure, yes. It is often better to increase ISO than to severely underexpose your footage.
Is a fast lens important for low-light videography?
Yes. A lens with a wide maximum aperture, such as f/1.4, f/1.7 or f/1.8, can allow more light into the camera.
Should I shoot Log in low light?
Not automatically. Log can be useful, but you need to understand how to expose and grade it correctly. A simpler picture profile may be more practical for some low-light situations.
How can I reduce noise in low-light footage?
Capture as much usable light as possible, expose correctly, avoid unnecessarily high ISO and use moderate noise reduction during post-production.
Can a gimbal improve low-light video?
A gimbal can improve camera stability and movement, but it doesn’t create additional light. You still need to maintain an appropriate exposure.